The (LiM) Raspberry Pi cluster (Pringles) tray
25 Dec 2022How I dreamed up and designed the LiM Pi cluster tray.
The idea for a cluster tray, or Pi Tray, was formed when I started out designing the Less-is-More (LiM) Raspberry Pi Compute Module 4 (CM4) cluster carrier board.
All the cluster set ups for Raspberry Pis I found on the Internet have the boards lined up either side by side or one above the other. This type of alignment of the Raspberry Pis requires venting and fans to circulate the heat away from the CPUs and out of the cases.
| Horizontal Cluster | Vertical Cluster |
|---|---|
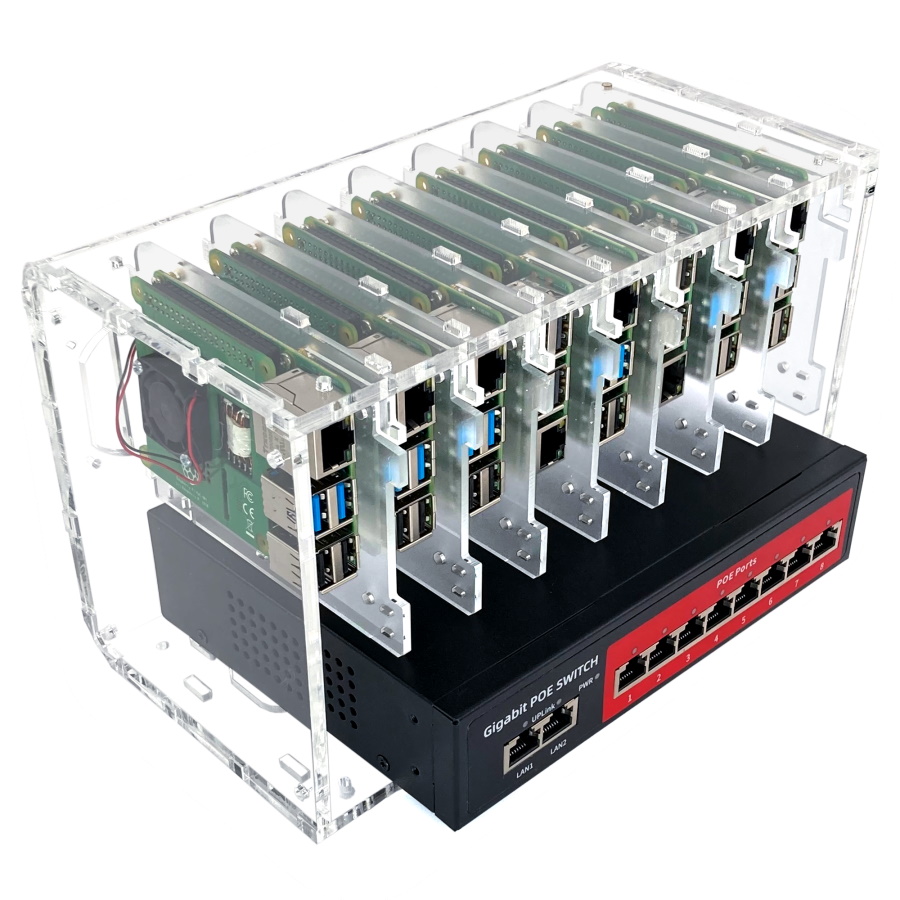 |
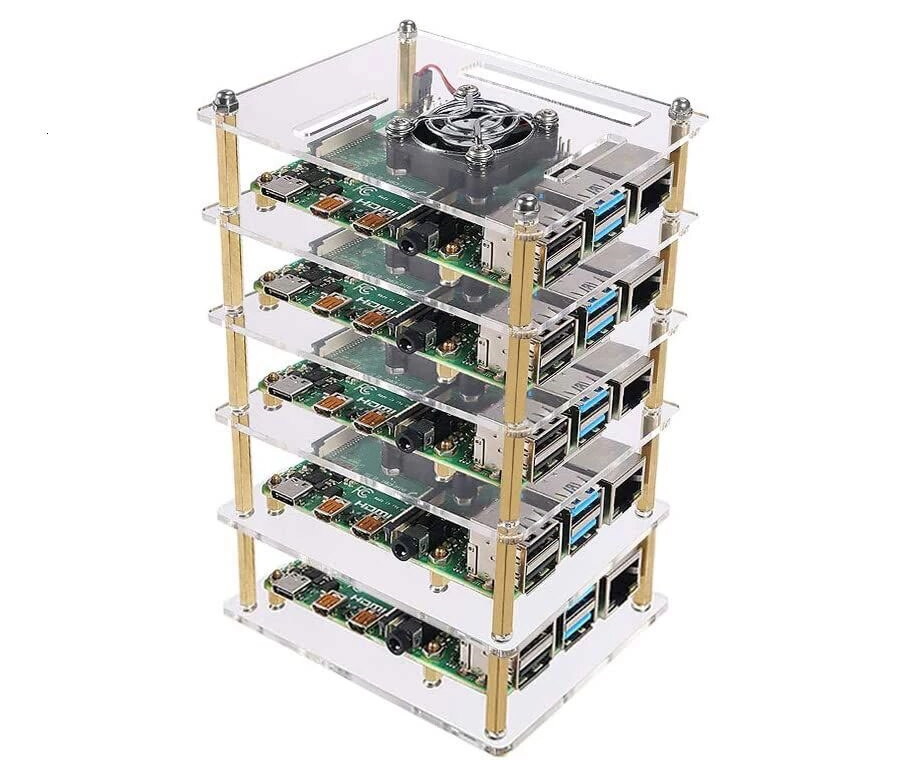 |
Fig 1: Examples of Raspberry Pi Cluster Enclosures
This is what made me think of aligning the Raspberry Pis in an offset pattern to allow for better airflow. I was thinking of using a Pringles box and aligning trays in a star shaped way.
The original idea and first model
The original idea was a 2D drawing and a model made from toilet paper rolls with Bristol board wings for the trays for the Raspberry Pis:
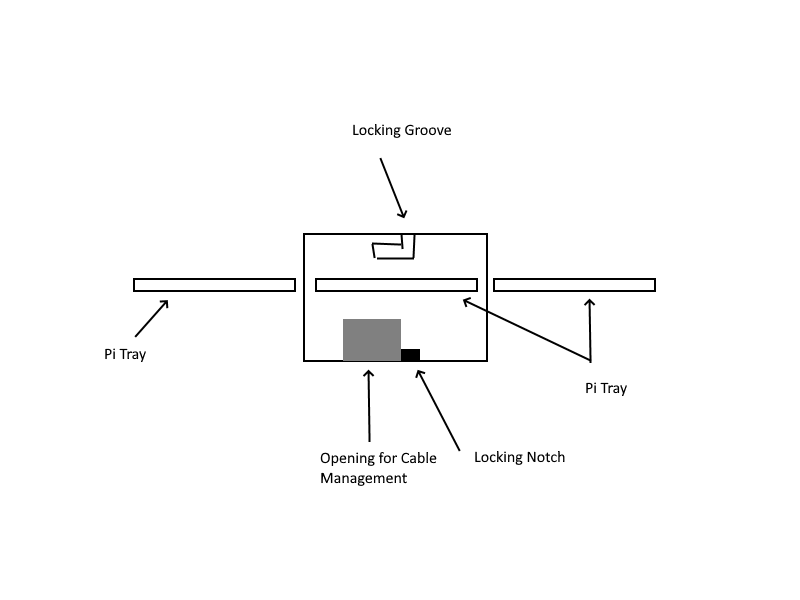 |
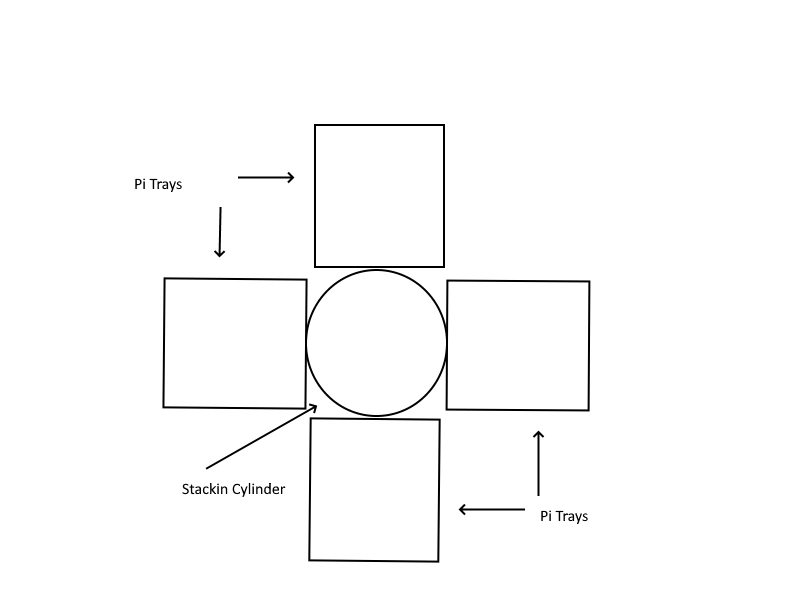 |
Fig 2: First Brainstorm Images of the Pi Cluster Tray
First Model:
Collage 1: Various Pictures of the First Pi Tray Model
The Pringles Prototype
For the next version of the Pi Tray prototype, I replaced the toilet paper rolls with a Pringles tube:
Collage 2: Various Pictures of the Pringles Pi Tray Prototype
First 3D Printed Prototype
As a next step, I thought maybe I could design and 3D print a modular tray that could allow for better air circulation. I found a guy on Fiverr who designed the first prototype of the Pi Tray.
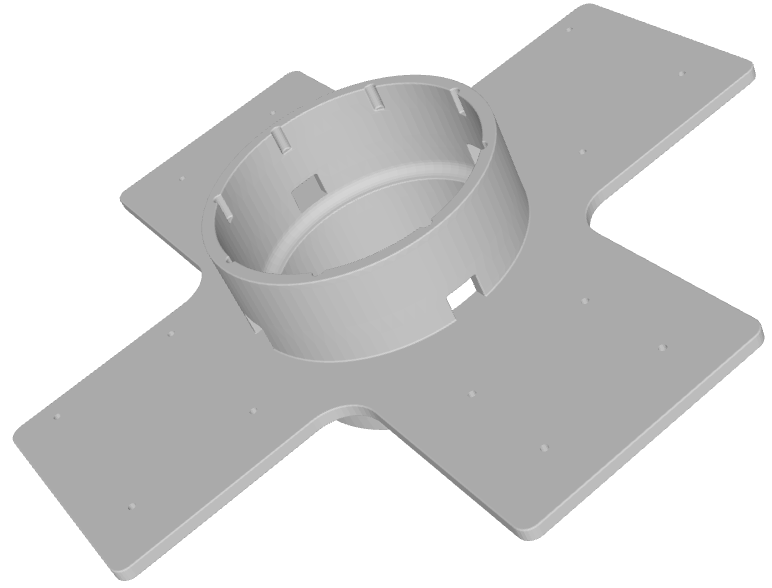
Fig 3: Pi Tray 3D Printed Prototype
Second 3D Printed Prototype
The problem with the original prototype was that it was too big to be printed on a standard 3D printer surface. It had to be printed in two pieces and then glued together.
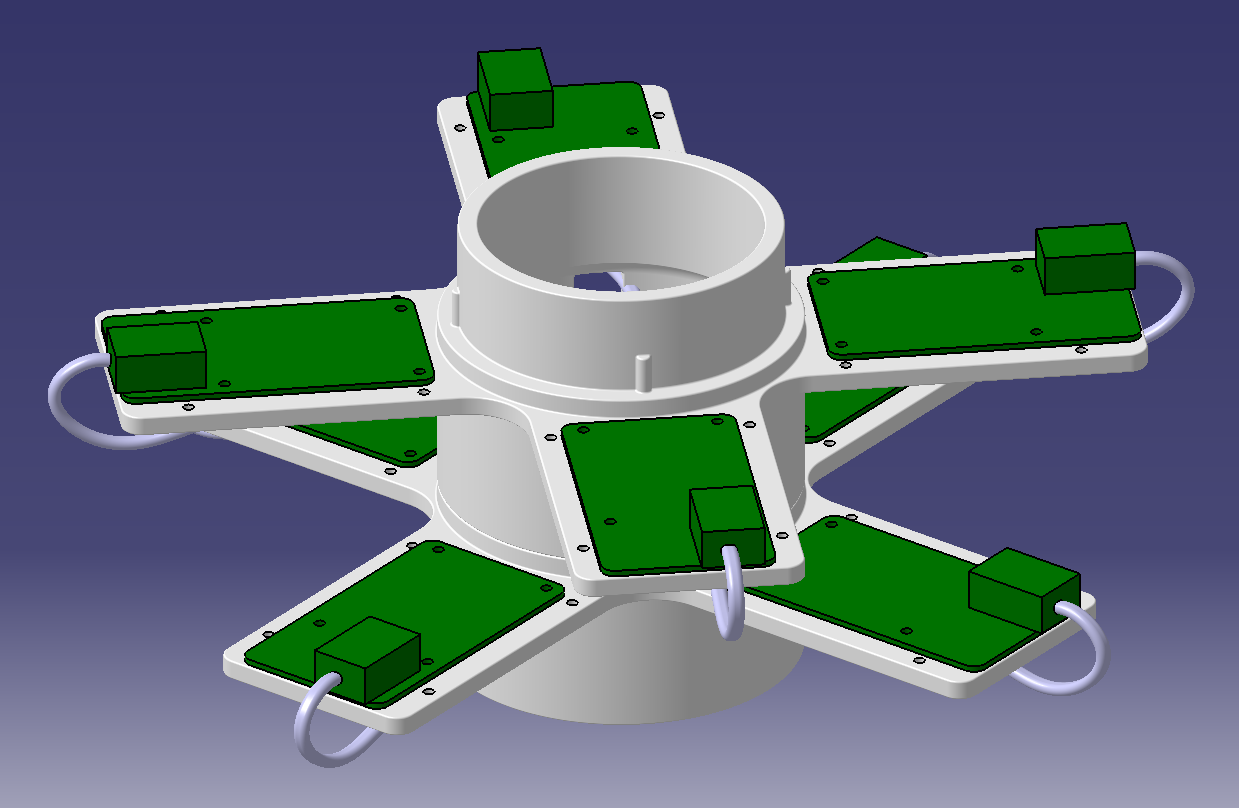
Another improvement for the next iteration of the Pi Tray was that it was only designed with mounting holes for the LiM cluster board. So another guy, Sergiy L., on Upwork helped me design the next iteration of the Pi Tray. This time I had it designed it to fit on a standard 3D printer surface (220mmx220mmx250mm) as well as it should have mounting options for not only the LiM cluster board but also a Raspberry Pi 4B.
| Pi Tray v2 drawing | Pi Tray v2 3 levels drawing |
|---|---|
 |
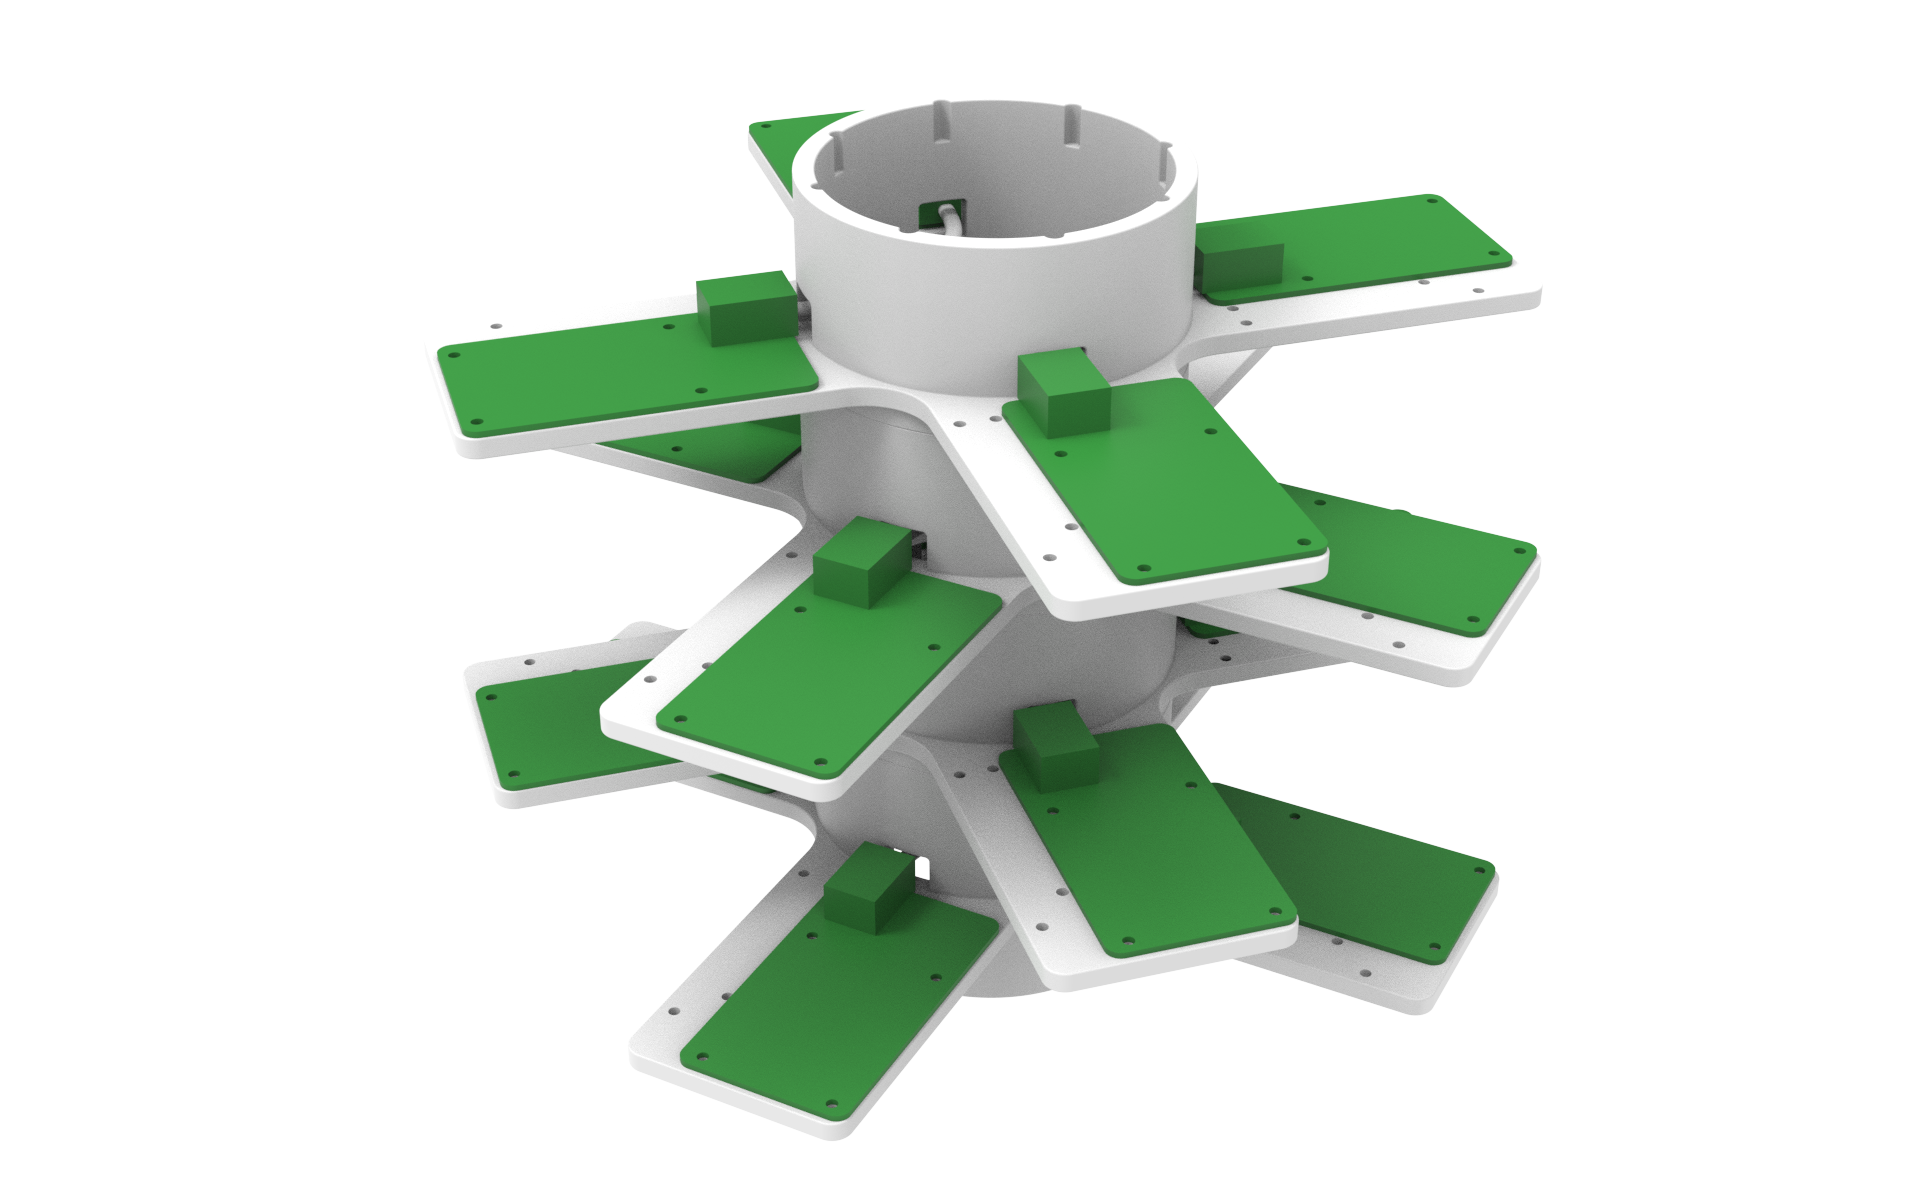 |
Fig 4: 3D Drawings of the Modular Pi Tray
Here are some pictures of the Pi Tray v2 printed, with a LiM cluster board and a Raspberry Pi 4B mounted:
Collage 3: Various Pictures of the 3D Printed Modular Pi Tray
So, after I had two Pi Tray modules printed and started to put a cluster together, I noticed I forgot to add notches in the bottom of the design to allow for the cables to come out of and allow the tray to be positioned evenly on a surface.
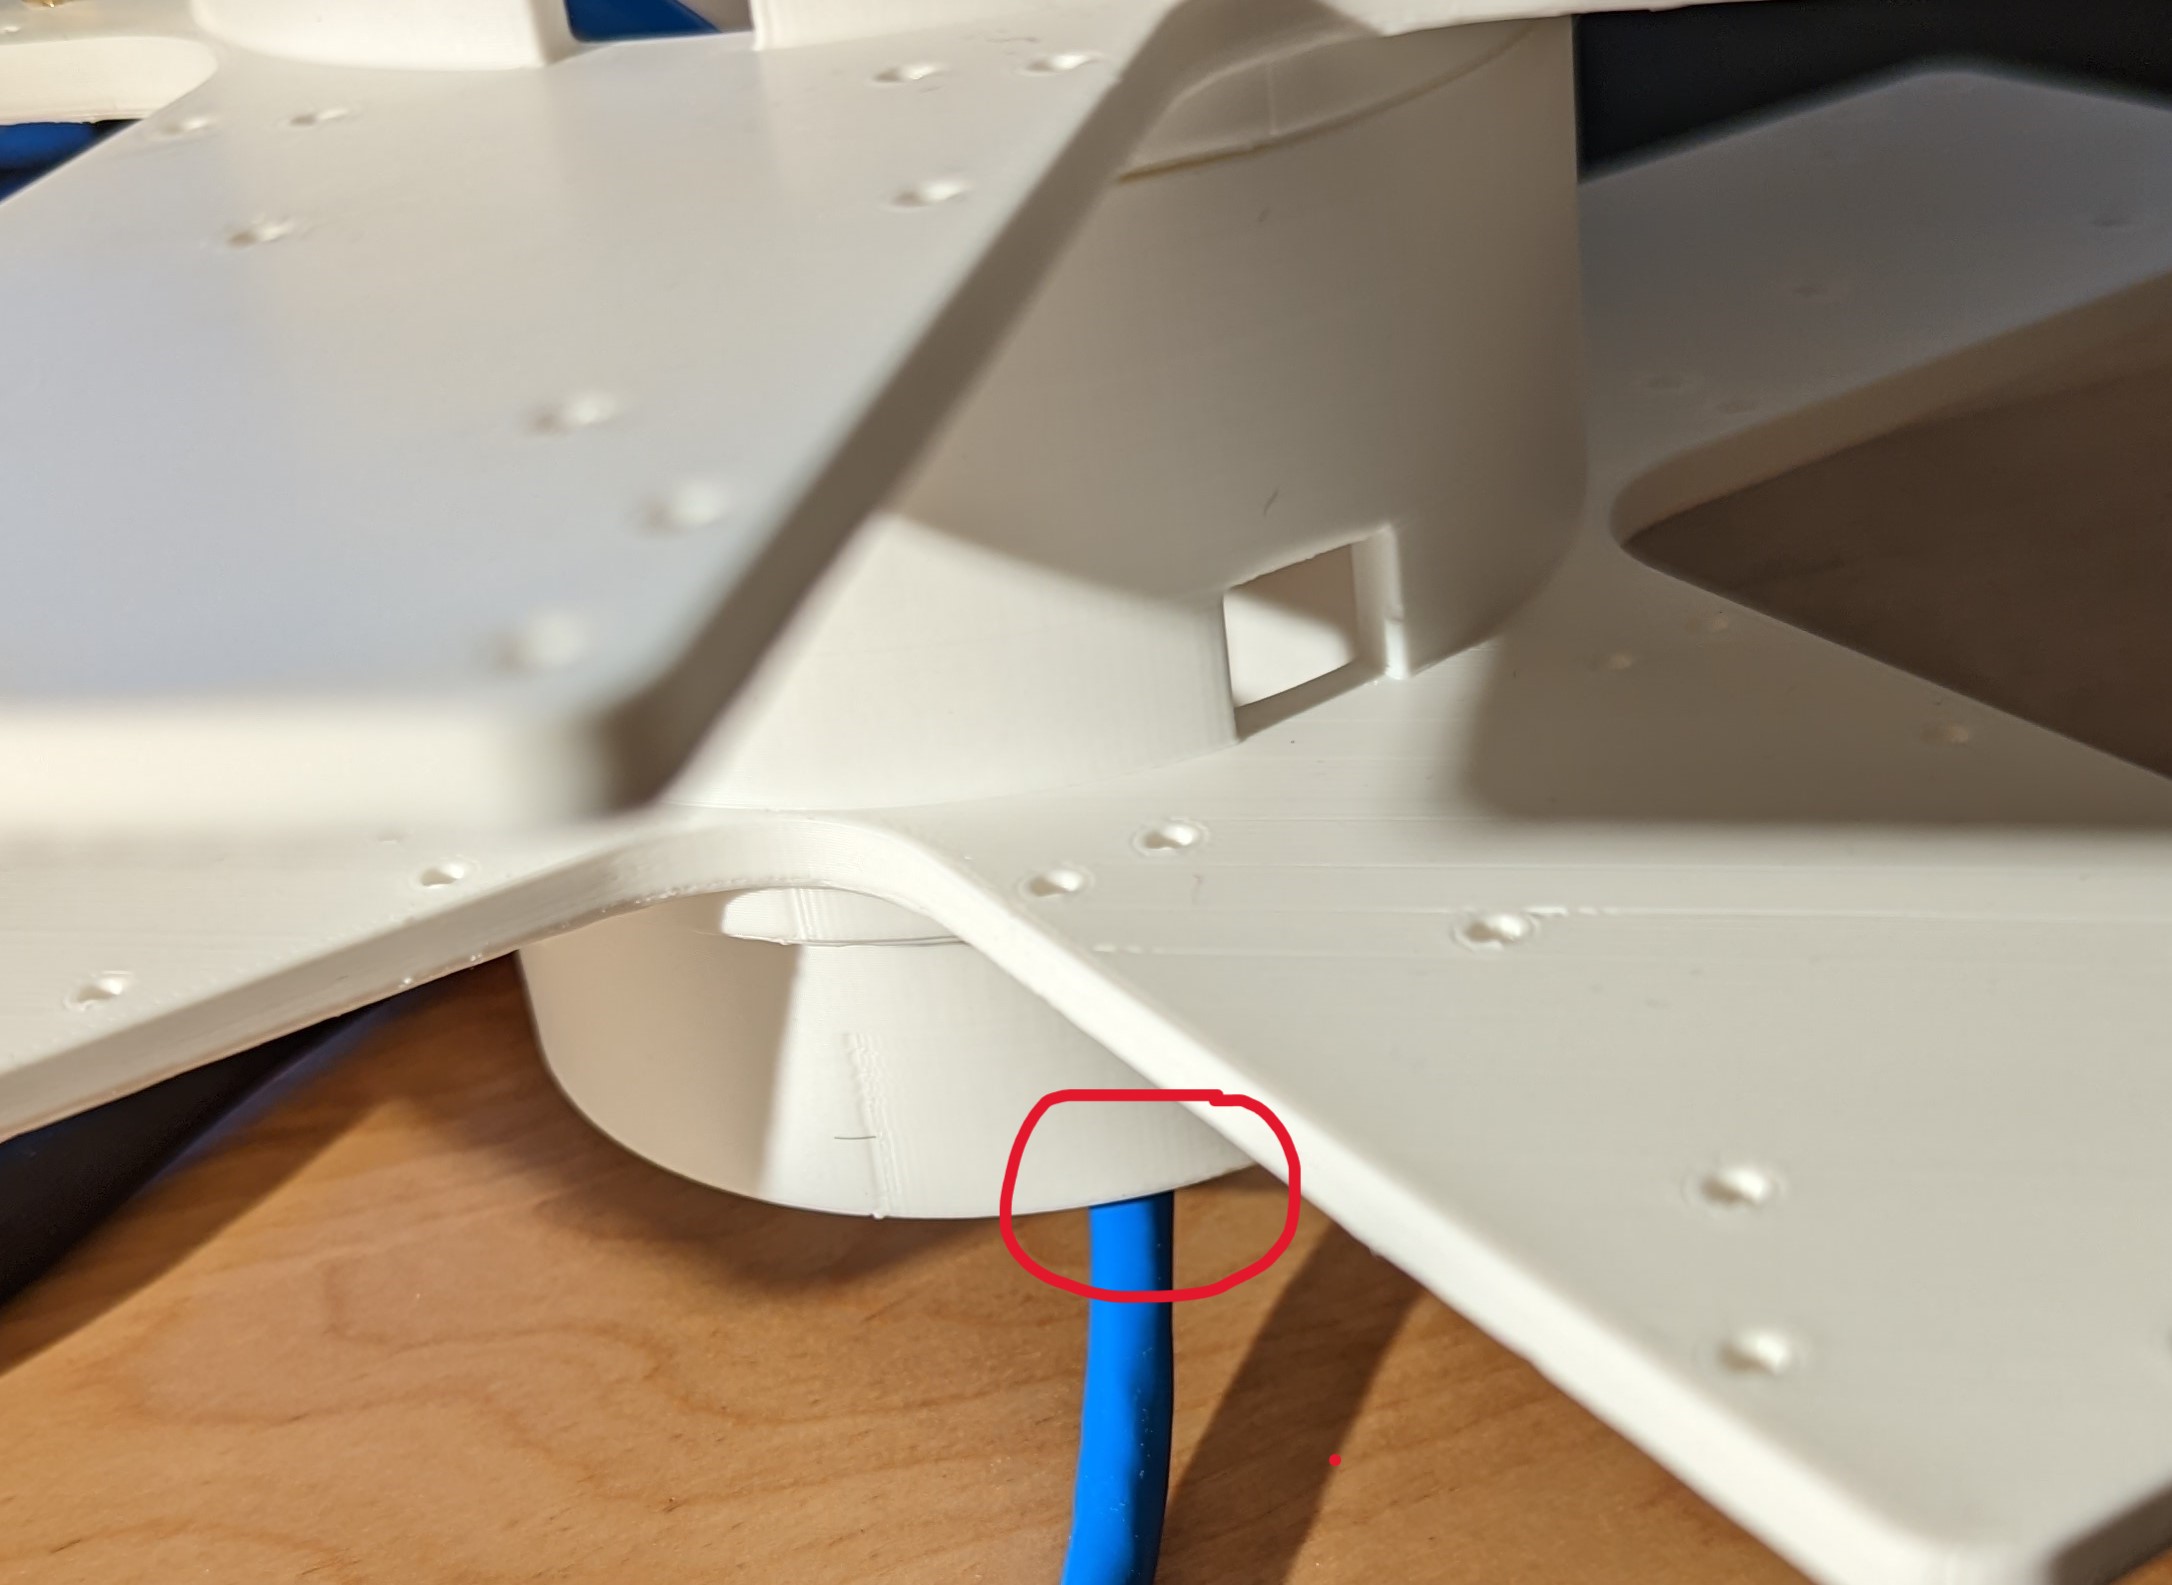
Fig 5: Pi Tray no notch
I did take a Dremel to one of the modules and added four notches to allow for the network cables to pass through. The final v3 of the Pi Tray will be updated to include these notches.
I will post pictures of the final v3 of the Pi Tray as well as the complete eight node cluster mounted on the modular trays when complete.